Tutorial

 |
| Craft Inspiration |
Hey guys!
So this tutorial is inspired by yet another pin that I found on Pinterest. I've done knitted headbands before, like my Cinched Headband, and I've done Knitted Bows before, but this one is a combination of the two.
This is a skinnier headband than I've done before. The band is actually about half the width of the bow, but I like it a lot!
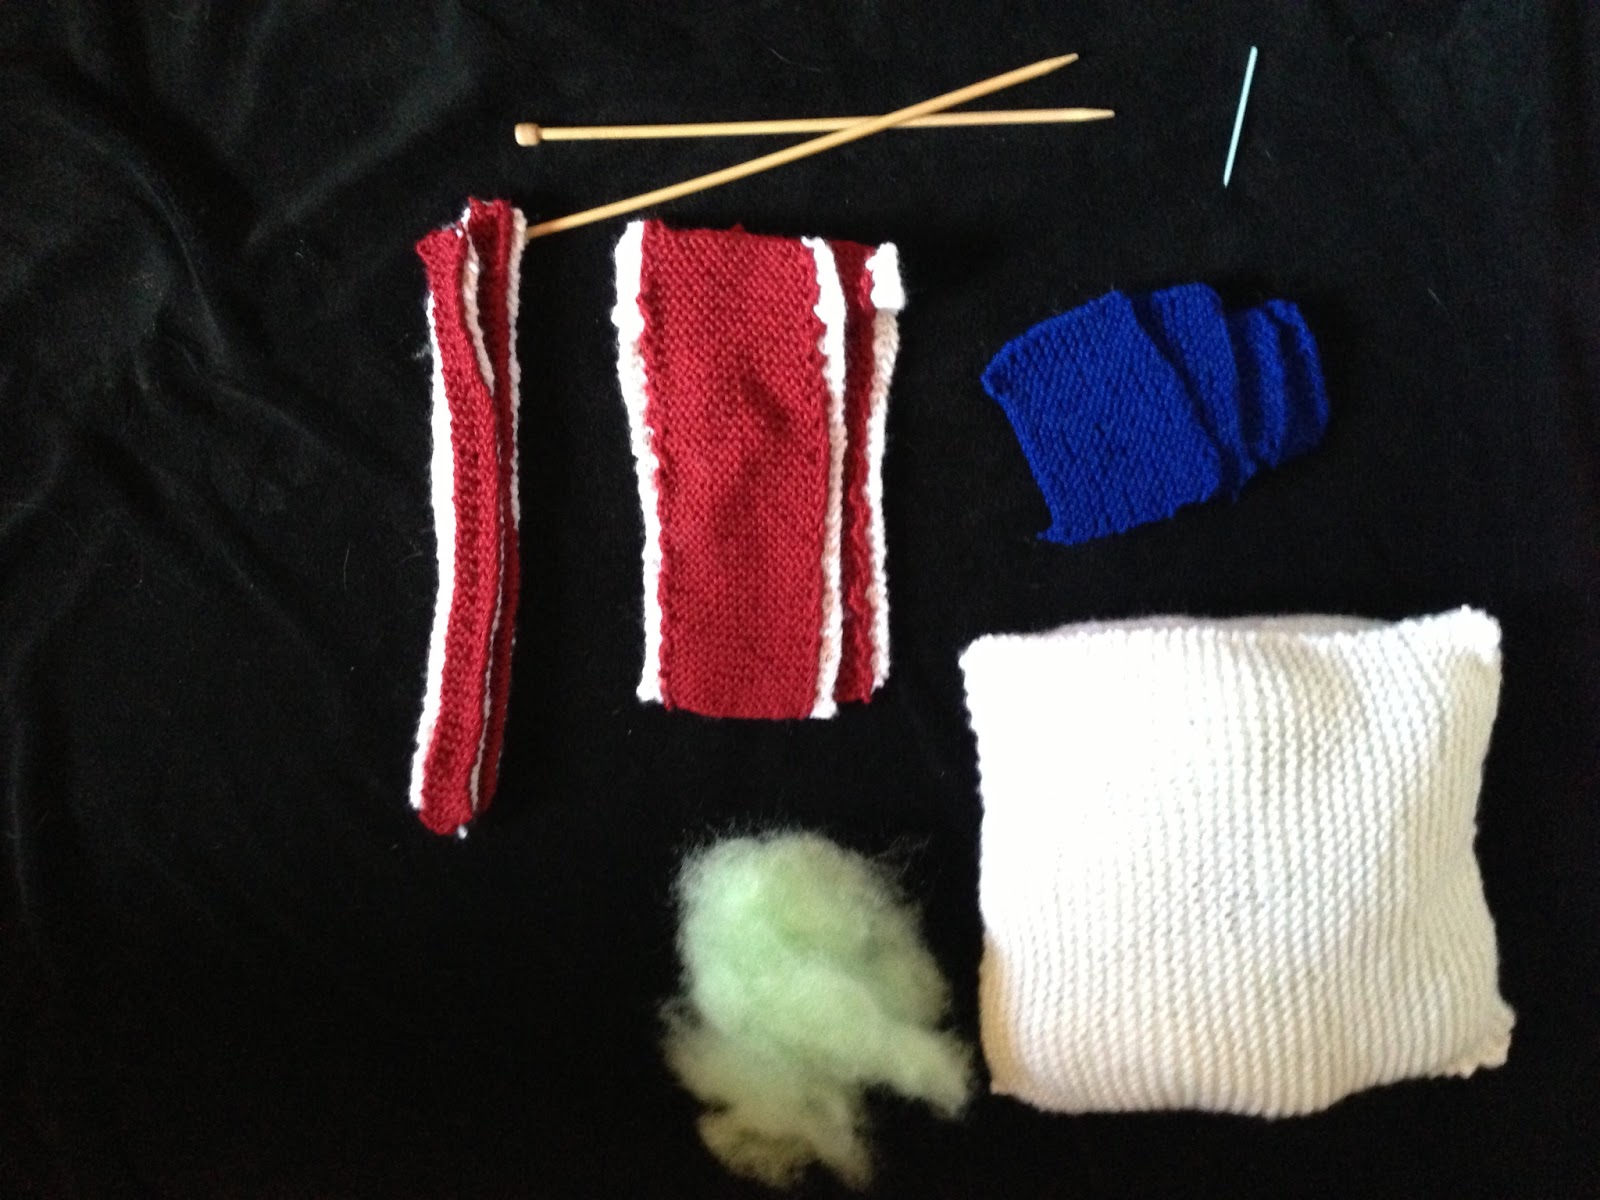
Here are the supplies you'll need:

- Yarn
- Knitting needles
- Scissors
- Embroidery needle
I absolutely fell in love with the color of this yarn when I saw it in Michaels! It looks darker in the picture than it actually is.
Anyway...

Step 1: Cast on 10 stitches

Step 2: Continue knitting until you have a band that fits around your head.
Cast off.

Step 3: Using the embroidery needle, sew together the two ends of the headband, making it a full circle.

Step 4: To make the thicker bow, cast on 20 stitches.
Then follow my Knitted Bow Tutorial for instructions on the bow portion of the headband.

Step 5: You should then collect the following items: A completed bow, a plain headband and some leftover string.
Use the leftover string to tie the bow and the headband together. I would recommend putting the cinched part of the bow over the sewn together part of the headband in order to disguise the sewing job.
Once you've tied the knot, wrap the leftover string around the headband and cinched bow several times to keep the two together and to cinch the headband a little as well.

You are then left with your final product!
If you have any questions about this tutorial or if you would like to share your own versions of this craft, please post below in the comments.
Happy crafting!
-Micayla