Tutorial

Well my day has been filled with two things-
1) Getting ready for tonight
2) Knitting like crazy

This project I have for you guys today is inspired, literally, by my phone case given to me by one of my best friends when she spent a summer in London. (I had to look at it to know what the flag looks like exactly.)

But my project was also largely influenced by my love (and slight obsession) with the British (and Irish) boy band One Direction.
(Thanks Mom and Dad for the Christmas present! ;) )
But please, don't stop reading now! I promise this is the last time for this post that I'll talk about them.
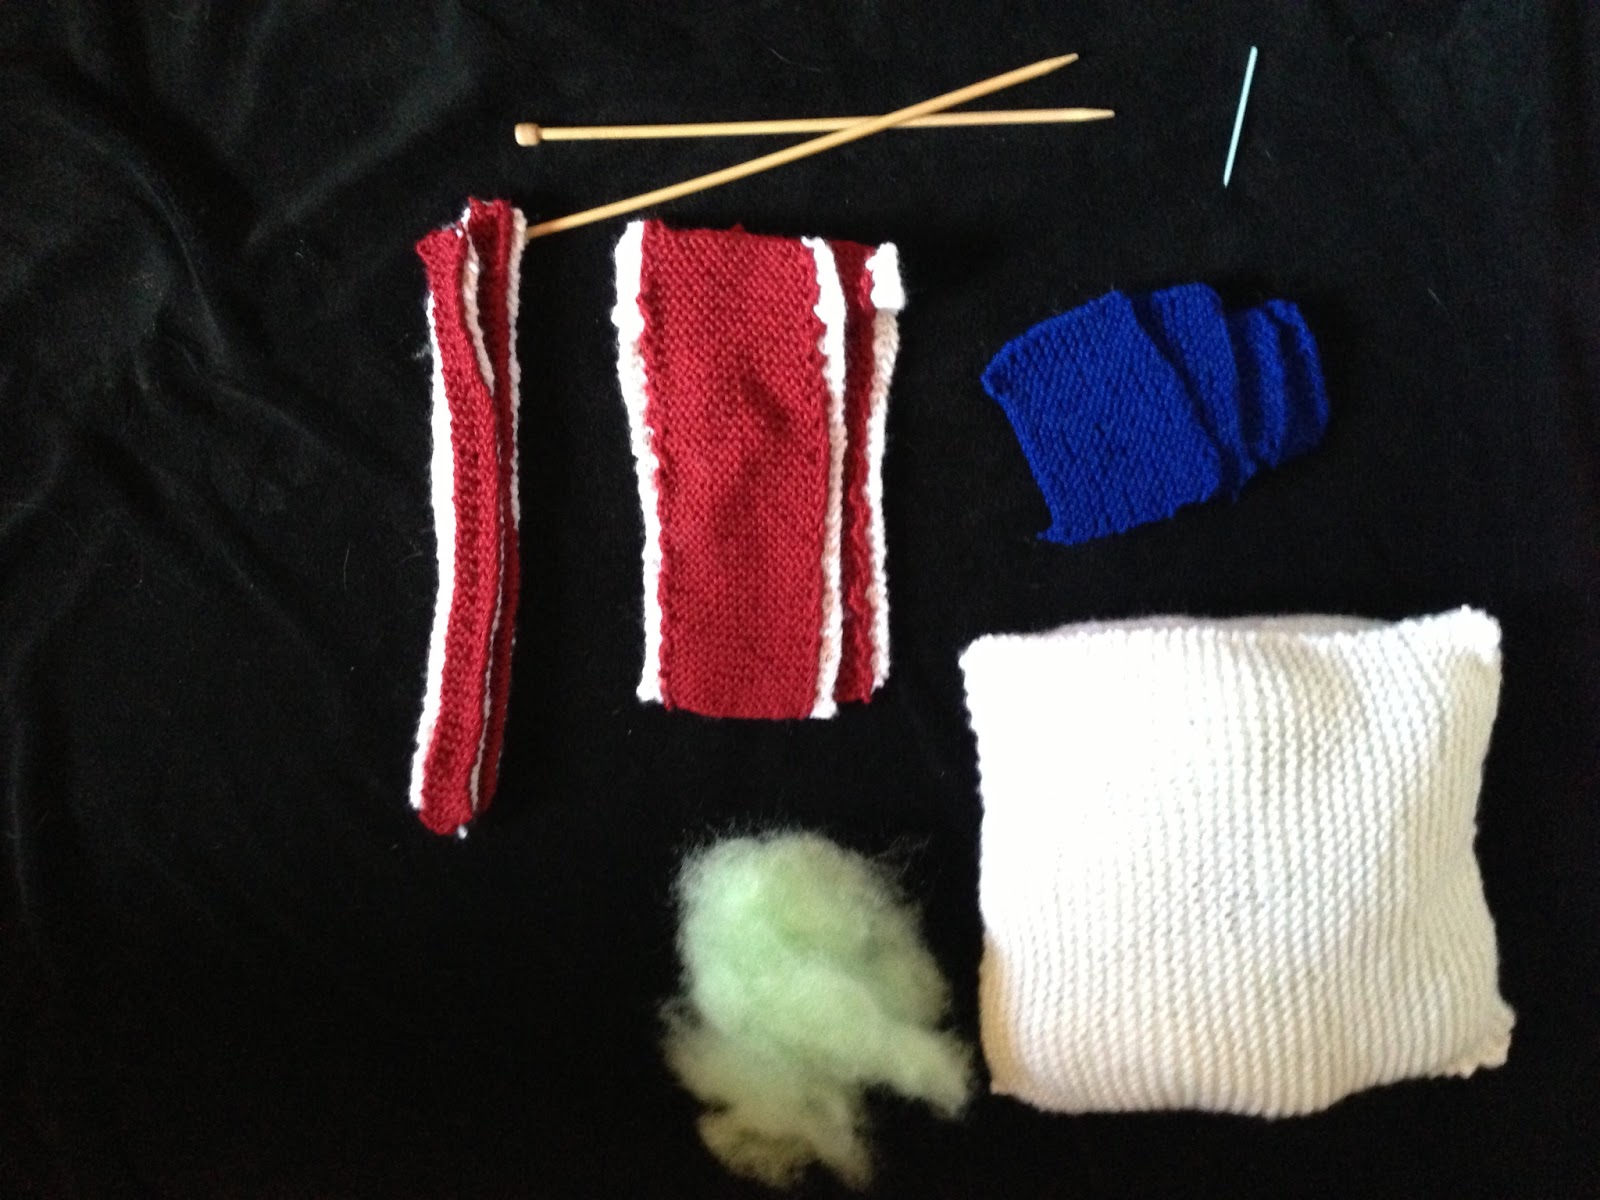
Here are the supplies you need to make your own knitted British flag pillow:
- Knitting needles
- Embroidery needle (to sew pieces together.)
- Pillow stuffing (I just bought a cheap pillow and cut it open.)
- Red, white and blue yarn
Step 1:
Knit together the following pieces.
With the white yarn:
- Two large squares.
- You will sew the edges of these squares together to make the pillow. If you'd like a different color than white to be showing on the back of the pillow then you can use any color yarn, but white seems to be the safest bet.
- I don't actually know how large I made my pillows (I think I casted on 70-80 stitches) but whatever size you make your pillow you can adjust the rest of the measurements. Trust me- if I made this project up, you can customize it easily.
- Four long rectangles
- For the first two, cast on 19 stitches or enough to make a border for a red rectangle with 17 stitches casted on. (For length, see the corresponding red knitted piece.)
- For the second two, cast on 7 stitches or enough to make a border for a red rectangle with 5 stitches casted on.(For length, see the corresponding red knitted piece.)
With the red yarn:
- Two rectangles with 17 stitches casted on. Make them long enough to fit comfortably when placed going across the pillow both up and down.
- Note: I wish that I had made these pieces a little smaller, but the width is up to your own discretion.
- Two rectangles with 5 stitches casted on. Make them long enough to fit comfortably when placed diagonally across the pillow.
With the blue yarn:
- Four blue squares. I casted on between 12-17 stitches (the numbers varied because I started running out of yarn. hahaha.. oops.) But the bigger the better because it's just the background.

Step 2: Sew together the two large white squares that make the base pillow. Because I don't know how to knit things together with knitting needles yet, I use an embroidery needle to sew together the edges of the pillow. Sew until there is a small opening to add the pillow stuffing and then finish off the edges.

Step 3: Sew the blue squares onto the four corners of the pillow using the embroidering needle.
Step 4: Sew the white, knitted rectangle pieces to their corresponding red, knitted rectangle pieces.

Step 5: Sew the red rectangle pieces with the white backgrounds diagonally across the pillow, connecting one blue square to the other.

Step 6: Sew the larger red rectangles with the white background across, going the other way (not diagonal- there should be a word for that.)


And there you go! You've finished your pillow!
I can't really tell you how much it will cost or how long it will take because this was made over a long span of time. But I made all of the red, blue and white border pieces all day today.
But I wish you all the best of luck if you attempt to make this! Let me know how it goes and if you have any questions!
Have a great (and safe) night tonight!
Happy New Year, and happy crafting in 2013!
-Micayla
No comments:
Post a Comment